
Such a cute cover. I love it!


 Materials:
- Clean dry T-shirt
- Small piece of jersey material (stained or too medium t-shirt)
- Cardboard
- Scissors and/or
- X-Acto knife
- Pencil
- Iron & board (adult’s job)
- Iron-on Adhesive -I use Heat and Bond Lite (from Joanne Fabrics). It's available by the bolt (get just what you need) or you can buy a package (use your coupon!)

2. Decide on the design and where it will lay on the shirt.
3. Cut a piece of the Heat and Bond Iron-on Adhesive a bit larger than the design.
4. Draw the design on the paper backing of the Heat and Bond.
5. Turn the shirt inside out.
6. Follow the package directions to add the iron-on Adhesive to the inside of the shirt (they have you iron it on a stiff surface- i.e. the cardboard).
7. Then slip the cardboard between the 2 sides of the shirt and cut the design out using scissors or an X-Acto knife; the iron-on Adhesive will make the material more stiff and therefore, easier to cut (an adult’s job if using an X-Acto).*
8. Peel off the paper backing.
9. Layer the extra piece of material over the cut material design-completely cover the iron-on Adhesive!
10. Iron the material in place.
11. Trim any material that's not fused.
12. Turn the shirt right side out.
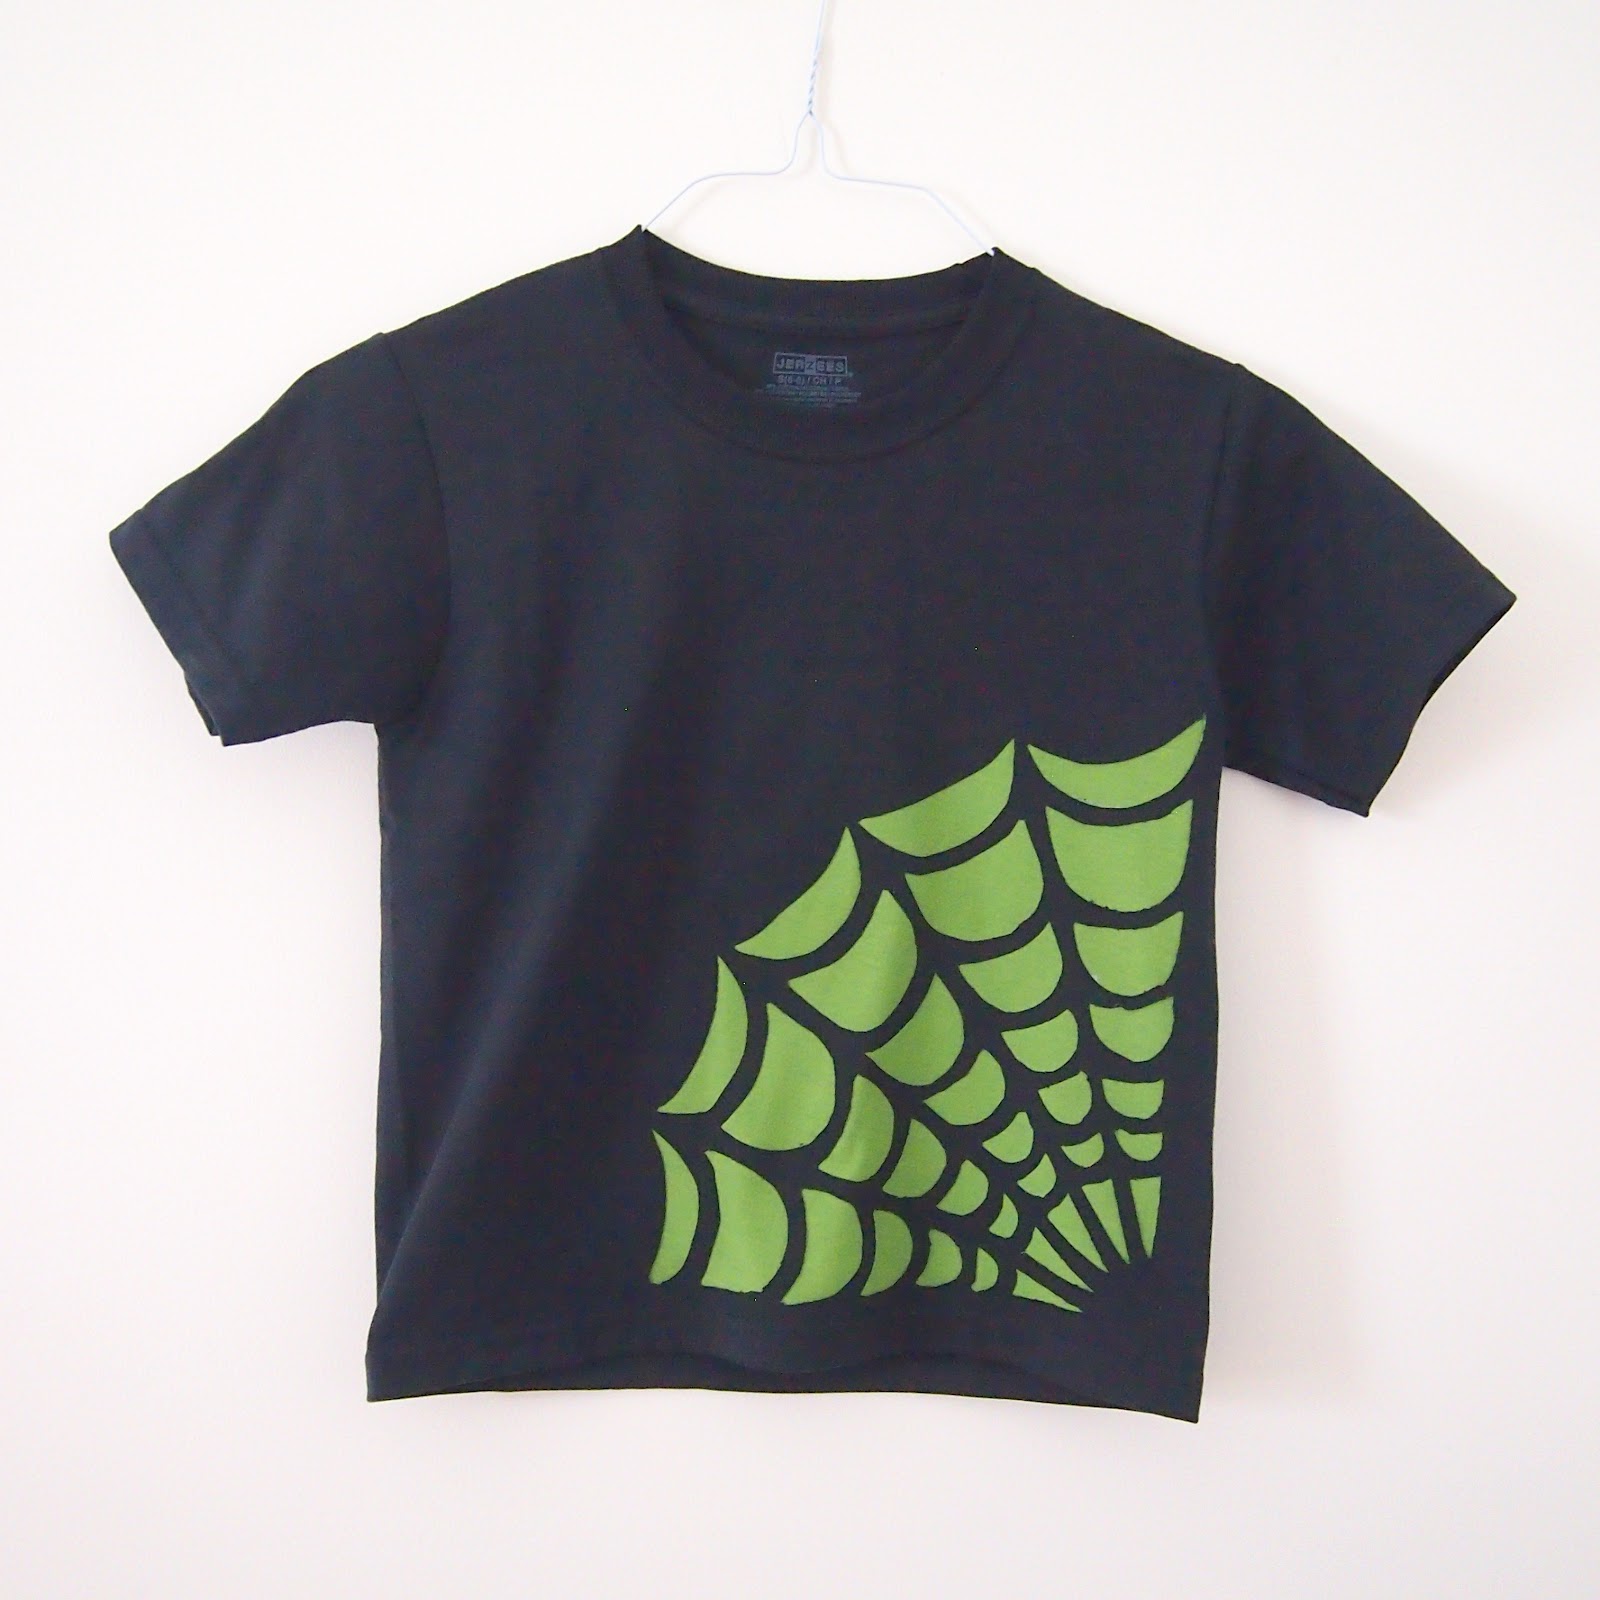
These shirts are 2 shirt examples but you can see the possibilities.


To cut a circle with scissors – pinch the center of the circle fabric together and snip a hole with the scissors then cut around the drawn circle line from the inside of the circle.
I really like these scissors for close up work like the tiny cuts.
And here are the other projects I developed for the Halloween issue (I can't find them on line or I'd link them). I've loved working on Halloween projects (in July) and will miss it.

No comments :
Post a Comment